Macarons, often mispronounced “macaroons” and not to be confused with the conical coconut cookies, are all the rage. There are many bakeries and confectionary shops in Southern California that sell these, sweet, beautiful, and pricey French confections. Back in 2006, I applied for a job at Boule Bakery (now permanently closed). Boule was one of the few bakeries in Los Angeles that sold macarons. I remember speaking with the head pastry chef and he explained that the success rate of their macarons was 50%. They were only able to sell half of the macarons they baked due to many factors that effected their outcome. Under-beating macarons will produce thin runny batter causing, a flat rise. Over-beating the macaron will cause them to crack. Also, using cold egg whites can cause the shell to crack as well. Baking 2 pans at a time can also cause them to crack. Not letting the macaron batter to develop a shell can effect the development of their signature feet (the little textured edges). Also using cold almond flour (Almond flour is usually stored in the refrigerator for longer shelf life) or old almond can cause little oily spots on the macarons.
After many trials and errors,I developed a fool-proof method of making the perfect macarons, but you must follow the instructions closely and not take any shortcuts. Make sure your egg whites and almond flour are at room temperature to prevent potential cracks. Let the macaron batter sit out for at least 1 hour once they are piped. This will create a nice macaron shell and produce the feet around the base. Finally, bake only one tray at a time. This will also prevent cracks on the macaron shells. My recipe uses salted, dark chocolate ganache filling to balance out the sweetness of a macaron shell. I’ve been told by several people, including French people, that my macarons is one of the best they have ever tasted. Happy Baking.
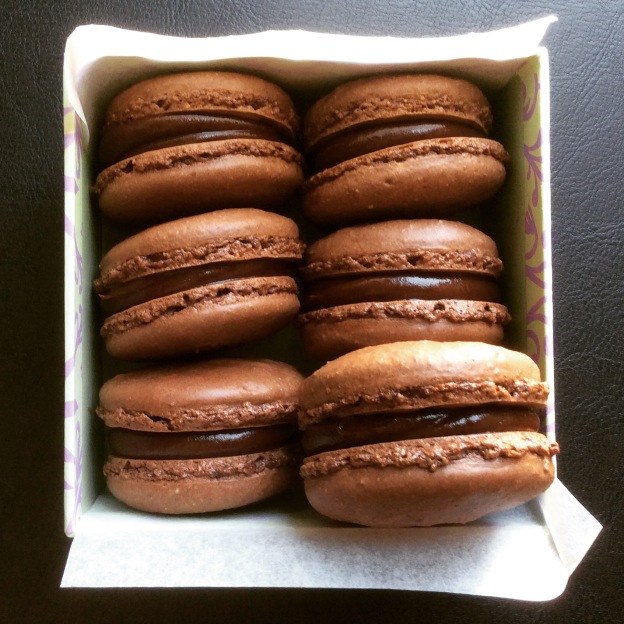
Chocolate Macarons with Salted Dark Chocolate Ganache
Make about 2 dozens
Filling
3/4 cup of heavy cream
1 Tablespoon of organic corn syrup
1 teaspoon of vanilla extract
8 ounces dark chocolate, chopped preferable 60% cacao
1 1/2 Tablespoons of butter, chopped into small pieces
1/2 teaspoon of Fleur de Sel or other flaky sea salt
Macaroon Cookies
1 cup of almond flour, at room temperature*
1 3/4 cups of confectioners sugar
1/3 cup or Dutch-processed chocolate, preferably Valrhona
4 large egg whites, at room temperature
1/2 cup of granulated sugar
1/2 teaspoon of vanilla extract
Special Equipment
Parchment paper
Stand mixer
Piping Tip – 1 cm
2 Large piping bag or 2 gallon-sized plastic baggie
Half sheet pans, preferably aluminum
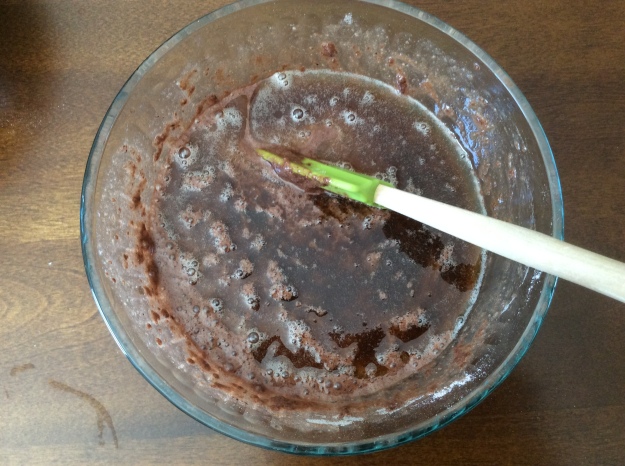
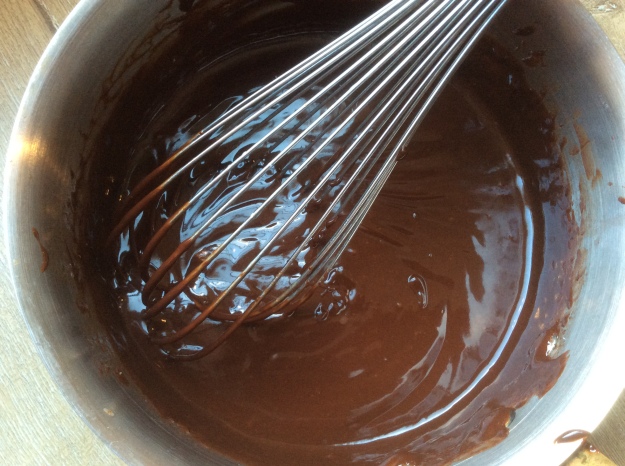
- To make the filling, add heavy cream, sugar, vanilla extract into an medium saucepan. Give it a quick stir. Set over the stove over medium heat. Once the cream mixture comes to boil turn off immediately.Add the dark chocolate and let it sit for 1 minute. Stir and until the mixture comes together.

- Add the butter pieces and stir until the ganache is shiny and smooth. Set aside to cool. When the ganache is has cooled, stir in the Fleur de sel. You can make the can make the ganache up to 3 days in advance. Make sure you cover with plastic wrap and place in the refrigerator. Bring to room temp before piping into the macarons.

- With a pencil draw 1 1/2″ circles on a parchment paper, using the large side of the icing tip as a stencil. Make 20 circles. Draw additional 20 circles on another 2 parchment sheets. Place the pencil drawn side down on each of the half sheet pans. Set aside.

- With scissors cut the tip of the piping bag, insert the icing tip until tight and secure. Set aside.

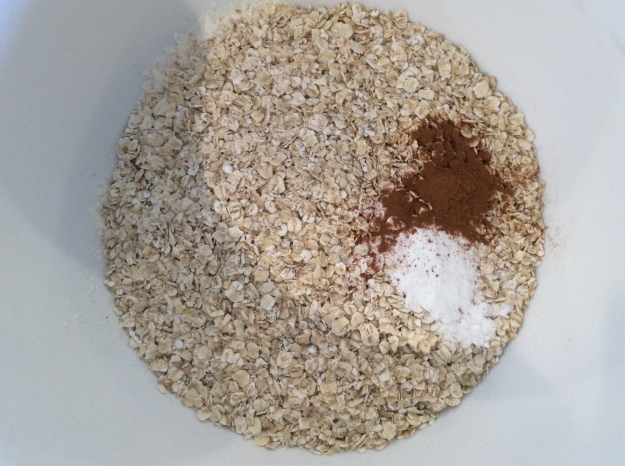
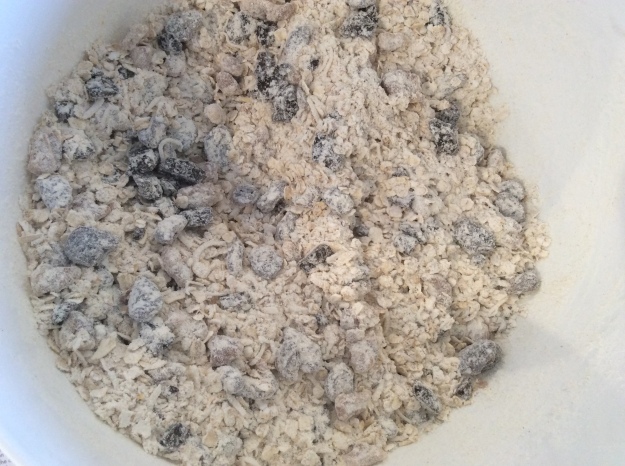
- Add the almond flour, confectioners sugar and cocoa powder in a a food processor and a pulse a few times until the mixture is combined. Sift the mixture over a large bowl. Set aside.


- In a stand mixer with a whisk attachment. Add the four egg whites. Whisk until starts to get foamy. Gradually add the granulated sugar in a slow stream.

- After all the sugar has been added, increase the speed to high. Beat 2 to 3 minutes until meringue has reached stiff peak and is shiny.

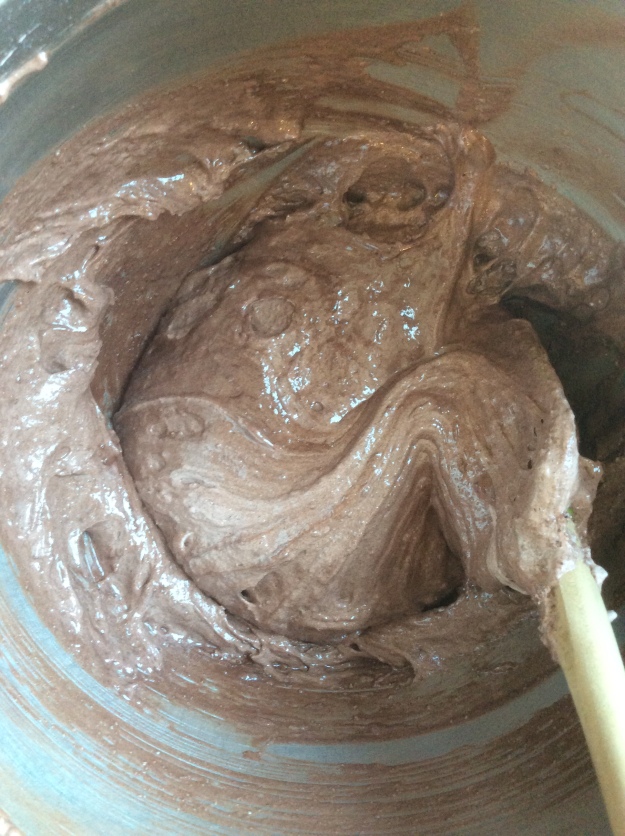
- Remove the bowl from the mixer. Add the vanilla extract and fold with rubber spatula. Add 1/2 of the almond flour cocoa powder mixture and fold in pressing down along the side of the bowl, until their are no lumps. Add the remaining 1/2 of the almond flour mixture until completely incorporated without any lumps.


- Add the macaron mixture into the piping bag and pipe over the pre-drawn circles in a circular motion. Tap the sheet pans on the counter to remove any air bubbles in the macarons batter. Let the macarons sit out on the counter for 1 hour. This process will help create the signature “feet” of the macarons.

- While the macarons are forming its shell, clean the icing tip. You will be using it again for the filling. Cut another piping bag and insert the tip and set aside.
- Heat the oven to 350°. Place tray of the macaron on the center rack. Bake for 12 to 15 minutes. Do not get tempted to add two trays in the oven as this will affect the outcome of the macarons.

- Place the baked macarons on a cooling rack. Bake the remaining macarons.

- Once the macarons are cooled, add the ganache in the prepared piping bag. Pipe on one side of the macaron cookie and sandwich it together with another cookie.

- Pipe the remaining cookies and serve. Store any remaining macarons in the refrigerator, in an airtight container. Enjoy!